
We use essential cookies to keep you signed in and remember a guest player in this browser. Google’s ad code uses cookies too. Cookies
Tactics with Zhao · Hosted by Nova
XS Space strategy
How to fly with momentum, spend one energy bar on everything, pick the right fights and still be alive to keep what you win.
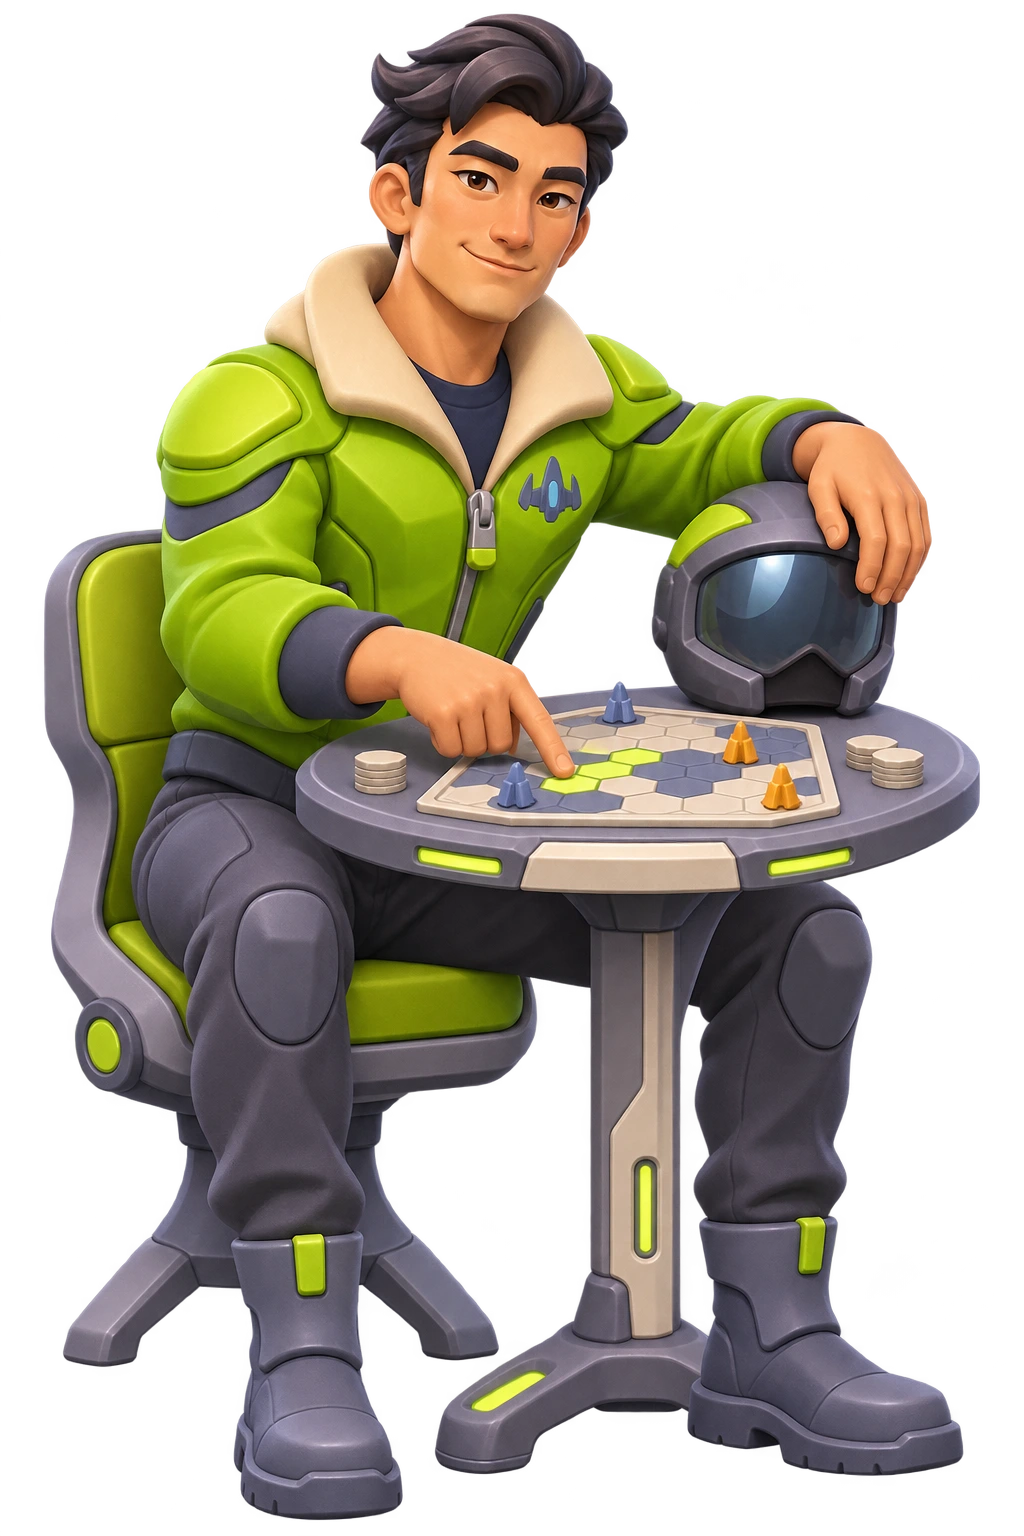
The other chapters say what everything does. This one is about using it well. XS Space pays the pilot who is still flying at the end of a fight, so most of the advice here is about momentum, energy and knowing when to leave. It follows the order a new pilot meets things, from the first drift to the Heart. If a key or a weapon is unfamiliar, the Controls and Weapons chapters have the details.
Fly with your momentum
Your ship keeps the speed you give it. Coasting sheds a little of it each second, but far too slowly to save you from a wall, so every stop is something you plan. S pushes backward as hard as W pushes forward. If you’re drifting the way you face, hold S and you brake without turning. If you’re drifting sideways, point your tail along the direction of travel and thrust.
Start a turn early. Rotating only changes where the nose points, and the old speed has to be thrust away before the new heading means anything. At a corner, turn before you reach it and burn through it, so you leave on the new line. The afterburner multiplies your thrust as well as your top speed, and it works with S too. That makes Shift a hard brake as well as a boost. It only burns while you’re thrusting.
Walls don’t hurt. Hitting rock costs no energy, and the ship bounces back at about half its speed, which is the quickest way there is to reverse direction. Use it on purpose: clip the wall of a corridor to cut a corner, or bounce off a rock face to turn a chase around. The cost is where the bounce leaves you, slow and easy to read, so don’t do it in front of someone’s cannon.
One bar pays for everything
One bar is your health, your ammunition and the fuel for every ability, so each shot is health you chose to spend. A shot costs about a third of the damage it does. Land one in three and you’ve taken from your target what you spent on it. Miss more than that and you’re losing the fight while it looks like you’re winning. Multifire multiplies the cost of a volley, so switch it on up close, where most of the spread connects, and off again afterward.
Firing can’t take you below 1 energy, but a ship that low dies to anything. Stop shooting well before that. Treat the bottom third of the bar as armor you don’t spend. When you reach it, the guns go quiet and you decide whether one more hit finishes the job or whether it’s time to leave.
Leaving works because recharge is quick. Every ship refills an empty tank in about the same time, and it’s a matter of seconds. Break the line of sight, let go of Shift, switch off anything that costs recharge and wait. You’ll come back with a working tank. The same is true of a pilot you let escape, so a target that gets behind rock for a few seconds is a fresh target.
When the bar won’t climb, something is holding it. Stealth pauses recharge, cloak drains a little more than you recharge, X-Radar and Anti-Warp take most of it, the afterburner outspends it on most ships, an ice hit freezes it for a moment and the storm stops it completely. Items are the exception to the budget. Apart from the Terraformer they cost no energy at all, so they’re what you still have when the bar is empty.
Read a ship before you fight it
Three things tell you about a ship before a shot is fired. The chevrons under it count the upgrades it has won since launch, from none to five. The number by its name is the Xenite it carries, which is what its wreck will scatter. Its trail grows longer and brighter as it powers up. None of them shows energy. A five-chevron ship can be one hit from dead, and a ship that just launched has a full tank.
Chevrons count growth, not the starting kit. A Golem with no chevrons still has the heaviest cannon in the hangar, and an Arachne or a Hydra launches with better guns than most. Read the hull as well as the marks. The Ships chapter lists what each one starts with.
The best target is rich, busy and unaware: a high Xenite number, already trading shots with someone else, or nose down in a field of orbs. The worst is a ship with more chevrons than you that has seen you coming. Joining a fight late is fair in a free-for-all. A ship that has stopped shooting and started running is telling you its bar is low, and the bots who fill out the arena break off the same way.
The same marks are on you. Every chevron and every hundred Xenite makes you a better prize, and the top flyer wears a gold star on the leaderboard. As your number climbs, fly as if someone is always lining you up, because someone is. Keep an eye on the minimap for dots closing on you.
Aim where they will be
Shots take time to arrive and your target is drifting. Aim at where its momentum will carry it, which is along its line of travel, wherever its nose points. A ship that isn’t thrusting moves in a straight line, so its future is easy to read. Fire when it’s committed: just after it bounces off a wall, while it lines up on an orb, or while it’s busy with someone else.
Your shots carry your own speed as well. Fire while flying at a target and the bullets arrive sooner. Fire while sliding sideways and they slide with you, so aim a little against your own drift. Bombs leave the cannon much slower than bullets, slower than a ship at full speed. Thrown after a fleeing ship from a standstill, a bomb never arrives. Use the cannon head on, at close range, or against the wall beside your target.
Guns kick. Each shot pushes your ship backward a little and the cannon pushes harder, so a long burst while chasing slows the chase. Stop firing to close, then shoot. Hits kick too. Every hit shoves the target along the shot’s path, harder the more damage it does, so a bomb can knock a ship off its line, onto a mine or out past the edge of the circle. Wind shots shove hardest, and Earth ships barely move.
Bouncing shots turn walls into angles. With Bouncing Bullets, or the Hydra’s bombs, aim at the rock beside a doorway and let the ricochet go where you can’t. A bomb that bursts on a wall throws shrapnel and a bomb that hits a ship doesn’t, so against a target hugging rock, aim at the rock. Your own blasts and shrapnel never hurt you, which makes point-blank cannon work safe for you and nobody else.
Grazing, hunting and what dying costs
Grazing is steady and small. Blue orbs are worth 3 to 15 Xenite each, and you don’t have to touch them: passing close pulls them in. Plan a line through a field and hold your speed. A green orb is worth more than any blue one and brings an upgrade, so it’s worth a detour and sometimes a risk. Upgrades are drawn at random. About a third improve the engine, and the rest are weapon levels, abilities and items.
Hunting pays in lumps. Every ship launches with 100 Xenite, and every wreck leaves a core worth 50 and two upgrades, at least two green orbs and the rest of what it carried. So the poorest kill in the arena is worth about a hundred Xenite and four upgrades, which is a lot of grazing. A rich one is worth far more. The catch is that a wreck pays whoever reaches it, not whoever made it.
So kill where you can collect. A wreck draws every pilot nearby, and the bots drop what they’re doing to race for a core. Take the core first, then the greens, and leave before the crowd arrives. If the fight left you low, take the core and go. The blue orbs aren’t worth dying for.
Dying costs everything. Your Xenite scatters for other pilots, your upgrades and the items you collected are gone, and the next launch starts from the ship’s base kit with 100 Xenite. The leaderboard counts what you hold now, so one death undoes a long flight. Once your number is worth protecting, fight only what you can finish, and let a kill go if chasing it means the storm, a crowd or a dead end. A ship you didn’t kill costs you nothing.
The storm and the circle
The storm takes a share of your tank every second, a bigger share the deeper you go, and nothing recharges out there. Because it’s a share, a Golem lasts no longer than a Cerberus. A dip through the shallow edge is affordable on a healthy bar. A fight in it is not, and neither is waiting in it for energy to come back, because it won’t. Abilities still cost energy in the storm, so switch them off before you cross.
When the countdown starts, look at the minimap. The dashed ring is the next circle, and it’s rarely centered where the old one was. Start moving while the edge is still. The storm eats the rock it covers and closes portals it reaches, and everyone else is heading for the same ground. Pilots who arrive first choose their cover. Pilots who arrive last arrive low, in a line, with the storm behind them.
That last group is the storm’s gift to a hunter. A ship coming in from the storm hasn’t been recharging, so meet it at the edge. Hits shove, so a bomb or a Wind volley can push a weak ship back out, and Repel can throw one outward. If the storm finishes a ship you hit in the last few seconds, the kill is yours. A firm border a little way out keeps ships and wrecks from going far, so the wreck stays in reach. Collect it on a full bar or leave it.
The bots won’t follow you far into the storm, so skimming the edge can shake one off your tail. It’s an expensive trick, and it only works while you still have the energy to pay for it. Use it briefly, and come back in somewhere they aren’t looking.
Rock, bricks and asteroids
Rock stops bullets, bombs and ships, and bullets do it no harm at all. Put a rock mass between you and trouble and you’re recharging while they fly around it. The bots hold their fire when rock is in the way, though they will bomb through a thin wall. The one thing cover doesn’t stop is a Thor, which flies through rock and asteroids alike, so don’t sit still behind a wall when someone knows you’re there.
Bombs and mines blast craters, and shrapnel chips at the edges. With a cannon, a thin wall is a door: a few bombs open a shortcut or an escape route, and rock that shows cracks is about to give. The lavender plating never breaks, so don’t spend energy on it. Blasted rock grows back slowly once nobody has been near it for a while, so a hole you made earlier may be gone on your next visit.
A Terraformer does the opposite. It costs a quarter of your energy and grows a rock formation where the seed lands, shoving ships aside and setting off mines it covers. Fire it between you and a chaser, or into open ground where you want cover to recharge behind. It always leaves a passage through, and it fizzles where the ground is already mostly rock. A Brick is the quick version. It drops a wall just behind you, across your path, so fly through a gap, drop it and the gap is shut until somebody bombs it.
Asteroids are cover that moves. They stop shots and shove ships, the big ones hardest, so don’t park beside one in a fight. Bombs break them up, and the small pieces crumble into a little Xenite. Your minimap only draws land you’ve flown near, but ships show on it wherever they are, unless they’re running Stealth. Explore early, while you have little to lose, so that when you need to run you already know where the corridors go. Hold Z to zoom the minimap.
Fire and Wind: Pegasus, Griffon, Icarus, Shade
Guests fly four ships, one from each element: the Pegasus, Icarus, Arachne and Hydra. An account unlocks the other four. The Pegasus is the Fire all-rounder and the place to start. Fire hits leave a ship burning for a few seconds. The burn is small and can’t finish a ship on its own, so Fire pilots win by landing more shots, and the Pegasus has the speed and turn to do it. Its own trick is three Bricks. Save them for a chase you’re losing: fly through a gap, press 5 and keep going.
The Griffon is the other Fire ship, with twin barrels, a very tight turn and a small tank. Both barrels fire for the price of one shot, so its close passes hit hard for what they cost. Fly it in passes. Come in fast, fire one burst as the target fills the screen, turn away and recharge before the next. Staying to trade is how a Griffon dies. Leave Multifire off unless you’re point blank, because on this ship a volley costs four shots.
Wind shots fly faster, so they need less lead, and Wind hits shove a ship well off its line. Use the shove: toward the storm, into a wall or onto a mine. The Icarus is the Wind bomber, with a stronger cannon from the start and rear fire on R. Dive in, bomb at close range and keep going. With rear fire on, your guns shoot backward at a chaser and their kick pushes you on, while rear bombs hang in your wake as traps. Switch it off before your next attack run.
The Shade is the Wind assassin: top speed, a small tank, and both cloak and Stealth. Cloak hides you from screens and Stealth from the minimap. Running both drains the tank quickly, so use Stealth for the long approach and add cloak for the last stretch. Cloak only switches on at a full bar, and firing or being hit drops it. After a shot or an item it stays off for five seconds, so each attack is one pass, not a string of vanishing acts. Open from behind, at a range where the first volley can’t miss, and be gone before the target has turned around.
Water and Earth: Hydra, Cerberus, Arachne, Golem
Water hits drag a ship for a moment, cutting its thrust and top speed. A dragged ship can’t dodge and can’t run, so follow a Water hit with something heavy. The Hydra is built to own a piece of the map. It launches with better guns, cannon and mines than most, its bombs bounce, and it has Multifire and See Mines. Pick a corridor or a doorway, mine the approaches and bounce bombs down it. Press B to stop the bounce when you want a bomb to burst on rock and break it.
The Cerberus is Water with ice. Its hits slow a ship’s turning, and its bombs and mines freeze the target’s recharge for a moment. It’s as fast as anything in the hangar and has the smallest tank, so it can’t trade. Fight ships that are already hurt: an ice hit on a pilot who is running to recharge keeps the bar where you left it. Lay ice mines across your own escape route before you start. It launches with three Decoys. They fool people, not the bots.
Earth bombs blast wider and throw more shrapnel, and Earth ships are hard to push around. The Arachne is the ambusher. It launches cloaked, with stronger guns than most and X-Radar. Its cloak hides it on screen but not on the minimap, so wait where ships already pass: beside a doorway, near a rich field, behind a rock. Let the target come to you and open at close range, because the Arachne is slow to turn and slow to leave. Afterward, get clear and back to a full bar. The cloak won’t switch on again until then, and never within five seconds of your last shot.
The Golem has the biggest tank, the strongest starting cannon and a hull that hits, blasts and Repel barely move. It’s also the slowest ship and the slowest to turn, so it can’t chase and it can’t run. Hold ground that others have to cross and fight next to walls, where its wide Earth blasts and extra shrapnel do the most. Its recharge is the largest in the hangar, so it can afford the afterburner longer than any other ship. Spend that on reaching the next circle early.
Items and abilities worth saving
Repel is the lifesaver. It throws back nearby enemy shots and ships, and needs a moment before it works again. Press 1 when shots are about to land, when someone is point blank, or when you’re crossing a minefield. Mines it pushes become drifting bombs that can hurt anyone, you included, so don’t follow them. Burst fires shards in every direction that ricochet off walls. It does little in open space and a great deal in a corridor, or with a ship right on top of you.
A Rocket is five seconds of speed beyond the afterburner, for free. It thrusts for you the whole time, so you can steer but you can’t brake. Point at open space before you press 3, and always keep one for escaping. A Thor flies through rock and asteroids and hits like a top-level bomb. Use it on a ship that’s recharging behind cover, or as a finisher when your own bar is empty. A Decoy flies on along your old line while you turn away. Launch it as you pass behind a rock, where the swap can’t be seen.
Warp, on Q, needs a full bar and leaves you with almost nothing, standing still, somewhere random. That makes it a way to leave before a fight starts, not during one. A Portal fixes the random part. Drop one in a quiet pocket with cover, go hunting, and warp back when you’re carrying more than you want to risk. It lasts a minute and the storm closes it. Anti-Warp stops ships near you from warping. Everyone sees the ring and it costs energy while it runs, so switch it on only as you close on a pilot who is likely to jump.
Stealth takes you off the minimap but not off the screen, and you don’t recharge while it’s on. Use it to arrive unannounced, then switch it off. Cloak is the reverse: off the screen, still on the minimap. That gives cloaked ships away. A dot on your minimap with no ship where it should be is an Arachne or a Shade. X-Radar shows stealthed ships and costs three quarters of your recharge, so flick it on for a look and off again. None of these hides your shots.
The Heart
When a Heart appears, everyone is told and it shows on the minimap. Decide at once whether you can win the race. If you’re close, go, and use a Rocket if you have one. Touching it refills your tank and clears any burn or drag, and for 15 seconds nothing can hurt you, the storm included. Your guns fire a free, fast, wide torrent with no recoil. Don’t spend that on orbs. Go straight at the richest ships in reach, and follow them into the storm if they run there, as long as you’re back inside before the time is up.
If someone else gets it, leave. Their shots carry every element at once, so one hit burns you, slows you and shoves you, and shooting back does nothing. The torrent is still made of bullets, and bullets stop at rock. Put a rock mass between you and the holder and keep it there for 15 seconds. The bots scatter from a holder too. When the time is up the holder is an ordinary ship again, with a full tank and everyone’s attention.
When things go wrong
Most deaths come from the same few mistakes, and most have a fix you can reach in a second if you’ve practiced it. Read this list once, then fly a few launches where the only goal is to get out of trouble alive. Each line names the trouble first and the way out second.
If you keep dying the same way, change one thing: the ship, the place you fight or the moment you leave. The Rules chapter covers the basics again, and the Glossary explains any term here that’s new. Then go back to the hangar and launch again. It costs nothing.
- Energy won’t climb: let go of Shift, switch off Stealth, cloak, X-Radar and Anti-Warp, and check that you’re inside the circle.
- Low and being chased: stop shooting, put rock between you, then use a Rocket, a Brick or Repel. They cost no energy.
- Shots keep missing: stop firing, close the distance and aim along the target’s drift, wherever its nose points.
- Heading for a wall too fast: brake with S and Shift, or take the bounce. Walls cost no energy.
- Caught in the storm: turn for the circle first, switch abilities off and don’t stop to fight.
- Surrounded: Repel, then Burst if they’re still close, then leave.
- Dragged, chilled or frozen: don’t try to outrun it. Get behind cover until it wears off.
- Someone has the Heart: break the line of sight and stay behind rock until it ends.
- Won the fight but low: take the core and go.
- A dot on the minimap and nothing on screen: a cloaked ship is close. Move.

Ready to fly?
The arena is always open.
Pick a ship and launch under your LarkSpark name. Nova and the rest of the cast keep the sector busy until other pilots arrive.